Font Awesome Pro
With this element, you can access the full suite of Font Awesome Pro icons by simply entering your Kit ID, making it a must-have for anyone looking to add high-quality icons to their website.

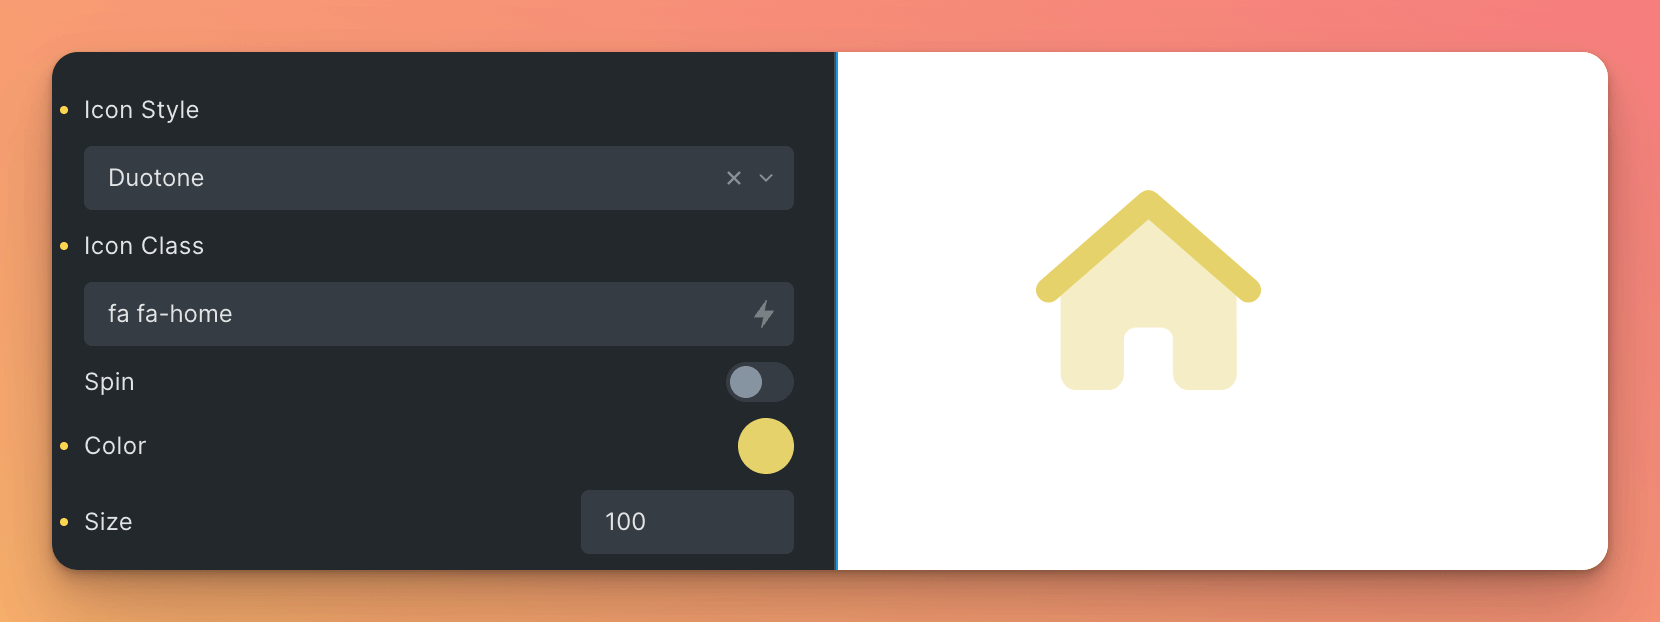
You have many options to customize the icon, such as the icon style, the icon class, the color, the size, and more.
How to use (Locally)
Since Version 0.9.9, you can locally host the Font Awesome Pro icons on your server.
If you want to do this, open the element settings and toggle “Host Fonts Locally”. Now, you need to include some javascript files, depending on the icons you want to use.
The supported Font Awesome “Host yourself” is the “SVG with JavaScript” version. You can follow the instructions on the Font Awesome website to get started.
Files to include
First of all, you need to include the fontawesome.min.js file. This file is required for all icons.
All other files are optional and only required if you want to use the icons and icon styles they contain.
After you have included the javascript files, you can use the element as usual.
How to use (With Kit ID)
Connect your Kit ID
- Sign up for Font Awesome Pro and get your Kit ID.
- Activate the element “Font Awesome Pro” in the
Bricksforge > Elementsmenu. - Open the settings via the settings icon and enter your Kit ID. Save.
- Now you can use the element in the builder.
Note: Without a valid Kit ID, you will not be able to use the element.
Element Settings
| Setting | Description |
|---|---|
| Icon Style | Choose between Duotone, Light, Regular, Solid and Thin. |
| Icon Class | Enter the icon class you want to use. You can find the icon class in the Font Awesome Pro documentation. |
| Spin | Choose whether the icon should spin or not. If checked, the icon will spin infinitely. |
| Sharp | Choose whether the icon should be sharp or not. (Only available for Solid icons.). |
| Color | The color of the icon. |
| Size | The size of the icon. You can use all units that are supported by CSS. |
| Link | Enter a link to make the icon clickable. |